My Visitors
Subscribe Here


Friday, November 12, 2010
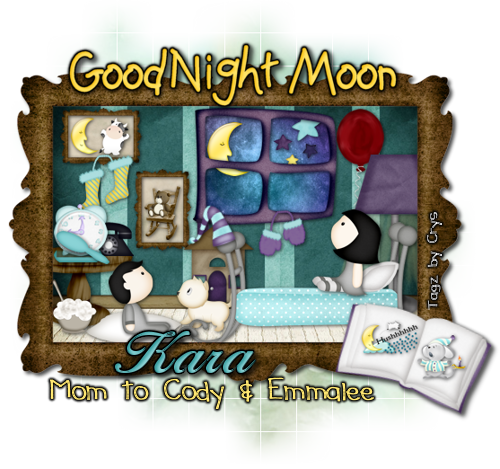
PTU Tutorial ~ GoodNight Moon
(Story of GoodNight Moon to follow after tutorial incase you haven't heard it)
Scrap kit: PTU Hush by Kara at Sweet Cravings Scraps HERE
Tube: The little boy and girl are provided in the kit
Plug-ins:
Eye candy 4000: Gradient glow
Font Used: FTU Childrenplay (goodnight moon), Larissa (the name), and Pea Times new Camileon
(any other sayings)
Mask used: WSL #84
♥ Let's Get started! ♥
Open a new raster layer 600 x 600
For the drop shadow on evertying I am using the following settings:
Verticle: 3, Horizontal: 3, Opacity: 70, Blur: 6, color black. (you use what ever you want)
(*Resize everything before you start copy and pasting)
Paper 9 (resize 20%)
Paper 10 (resize 600 x 600 pixels)
Paper 11 (resize 14%)
Paper 20 (resize 54%)
Bed (resize 36%)
Bowl of mush, brush, comb, cow, Rocking chair, sleeping cap, stars (resize 10%)
Moon (resize 10%) duplicate and resize again 64%
Frame (resize 63%,duplicate and resize 18%)
Bear (resize 5%)
Kitten (resize 13%)
Book, house, window (resize 20%)
Mittens, phone (resize 11%)
word art (resize 8%)
Mouse (resize 9%)
Little boy, socks (resize 14%)
Little girl (resize 16%)
Lamp (resize 30%)
Red balloon (resize 24%)
Pillow (resize 18%)
You can always refer to the sample for placement of anything!
For this tag, it is really just copy and pasting the elements where you want them. I always
start at the bottom and work my way up mostly. also if something just isn't the right size,
you can resize how you see fit, mine is only an example, so be creative!
paste paper 20, paste the frame above paper layer. Click inside the frame with your magic
wand tool, selections, modify, expand by 5, selections, invert. On the paper layer hit
delete on your keyboard.
Copy and paste paper 9, copy and paste window. Click inside each square in the window, selections
modify, expand by 4, selections, invert. On the paper layer click delete on the keyboard.
Copy and paste the larger moon and stars. Erase anything hanging over the edge of the frame.
Add drop shadows to everything as you go.
copy and paste the red balloon, move to the right side of window, copy and paste lamp, move
to the side of the balloon. (see sample for placement)
Copy and paste the mittens. copy and paste paper 11, copy and paste smaller frame, adjust
above paper 11. As before, click in the frame, selections, modify by 4, selections, invert,
on the paper layer, hit delete on your keyboard. Don't forget to be adding your dropshadow to
your elements as you go. Duplicate paper and frame, For both the paper and the frame, image,
free rotate, to the right 90%. copy and paste the moon and cow as shown in the example and
arrange in the horizontal frame. copy and paste the bear and rocking chair. Move them into
the frame that is verticle.
Now at this point I just started adding elements to make it look like the book Goodnight Moon.
Once you have it the way you want it, You can do the following steps or just add your name and be done.
With the dropper tool, pick up the dark yellow color from the moon and with the font
Childrenplay type out GoodNight Moon.
Effects, plug ins, Eye candy 4000, gradient glow.
Now add your gradient glow on these settings:
Glow width 3.00
Soft Corners 25
Overall Opacity 100
Draw only outside selection checked.
Under color tab, use black for gradient glow. Drag one slider half way across the bar.
Click ok. Add your dropshadow. Using your dropper tool again pick up the teal color.
With the font Larissa, add your name and use the same gradient glow settings as above.
using the yellow color again and the font Pea Times New Camileon, type out any sayings you
want to add. Again use the same gradient glow settings as above. Add dropshadow to everything
if you haven't already.
Re-sizing the siggy...
I resized mine to 500 pixels. Add your tag info.
Save and you are done! Easy Peasy!
I would love to see what you made!
Thank you for following my tutorial! If you have any questions please email me at
kissnjoe@yahoo.com!
Here is a preview of the kit...

GoodNight Moon is both of my kid's favorite book, we read it every night for bed. Now I want to share it with all of you and you can see how awesome this kit is. It really does follow the story! Thank you Kara for such amazing work! My kids love it! When I was making the siggy for the tutorial, my kids had a blast helping me! Anyway here is the story...
GoodNight Moon
By: Margaret Wise Brown
By: Margaret Wise Brown
In the great green room
There was a telephone
And a red balloon
And a picture of --
The cow jumping over the moon
And there were three little bears sitting on chairs
And two little kittens And a pair of Mittens
And a little toyhouse And a young mouse
And a little toyhouse And a young mouse
And a comb and a brush and a bowl full of mush
And a quiet old lady who was wispering "hush"
Goodnight room Goodnight moon
Goodnight cow jumping over the moon
Goodnight light and the red balloon
Goodnight bears Goodnight chairs
Goodnight kittens and goodnight mittens
Goodnight clocks and goodnight socks
Goodnight littel house and goodnight mouse
Goodnight comb and goodnight brush
Goodnight nobody Goodnight mush
And goodnight to the old lady whispering "hush"
Goodnight stars Goodnight air
Goodnight noises everywhere.

Subscribe to:
Posts (Atom)
About Me
- Crys
- I am a SAHM of 2 very active kids and a Wife to a wonderful man. I also take care of my grandma who lives with us...so yep I am a busy girl...lol, I started out as a tagger almost 4 yrs ago and then I started making templates and writing tutorials, one day I decided I wanted to try my hand at making scrap kits...and almost 2 years later, I am still making them. I have met a lot of amazing people along the way that have helped and given me support through-out all of this. Big hugs and thanks! Well that is about it, if you want to know more...just shoot me an email!
My Scrap Blog

Snag My Blinkie
